 I now have a working retina display on my Late 2012 Mac mini at work. I previously wrote about it late last year and occasionally experimented with normal HD LCDs but really wasn’t going to be able to do anything without an UltraHD display to test with. Recently, I asked the desktop team and they happened to have one that wasn’t in use. I was able to borrow it and worked more seriously on seeing if this was indeed possible.
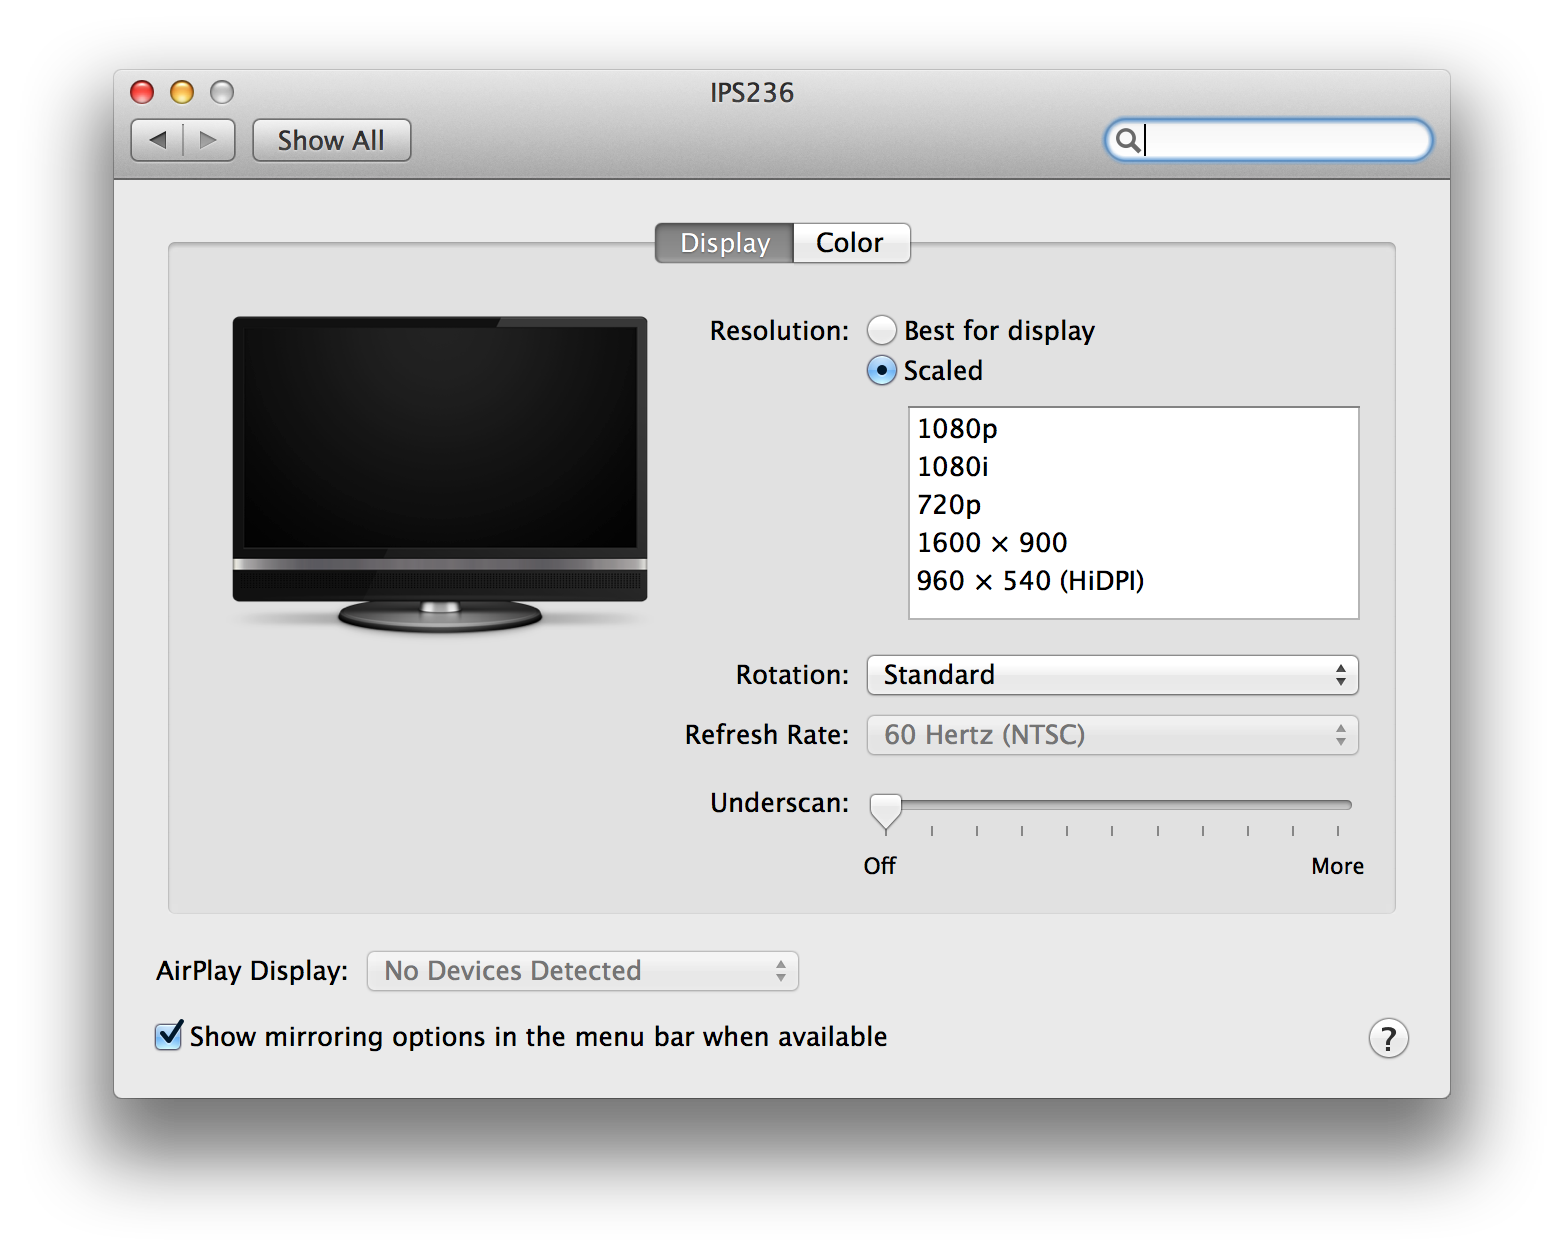
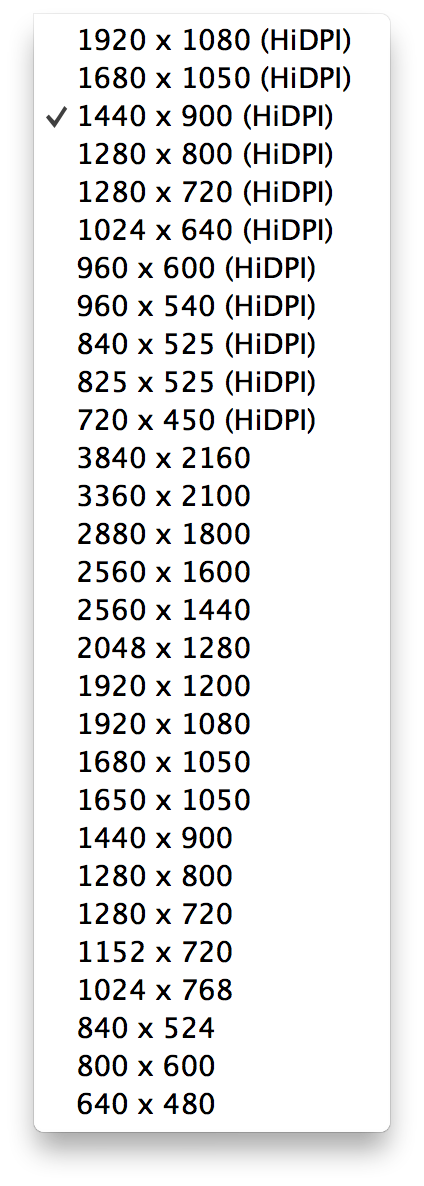
The quick-and-dirty how to can be found at the mac-pixel-clock-patch page on Google code. You have to patch a single file to enable the higher 3840 x 2160 resolution, but that, plus a UltraHD display, and you’re in business.  Having 3840 x 2160 (UHD) display rendering a 1920 x 1080 (HD) screen makes for a nice experience, indeed. Look at the picture on the right or screenshots of my previous article.
For work, I got a pair of DELL 2414Q 24″ LCDs. They’re nicely made and look quite good. I run one in landscape and the other in portrait so I can display content as appropriate (e.g. spreadsheets vs. web pages). If I were using only a single display, the story would be over. The problem is that the Intel HD 4000 video hardware on the Mac mini isn’t up to the challenge of driving two displays at that resolution. It just can’t throw that many pixels out that fast (just shy of a half billion pixels per second). I would get close, but it would result in the video flickering with pixel ‘junk’ over large portions of the screen. I could get one looking great over mini DisplayPort or HDMI (3840 x 2160 @ 30 FPS) but the moment I connected the second display, problems. I tried customizing lower FPS modes to reduce the total pixel clock demands, but no luck.

The DELL UP2414Q I use at work
My workaround is driving the portrait display at 1920 x 1080 (1080 x 1920, actually) over a USB to HDMI adapter (via DisplayLink). It’s only HD with a variable refresh rate, but it does allow me to have both displays active.
Rumors are that Apple will be revising the Mac mini next month which should improve the video hardware enough to work. We’ll see. For now, though, I’m satisfied and enjoying the experience.